


")
There are varieties when it comes to tying down a fishing line. With a fishing line, you don’t get limited to any specific type of knot. All knots, whether they are line to lure, a line to hook, or line to the line, all work. The knots discussed in the article below are easy to master, and some are very common to anglers. Tie your finishing line with the below knot:
Best Tips to Tie a Fishing Line
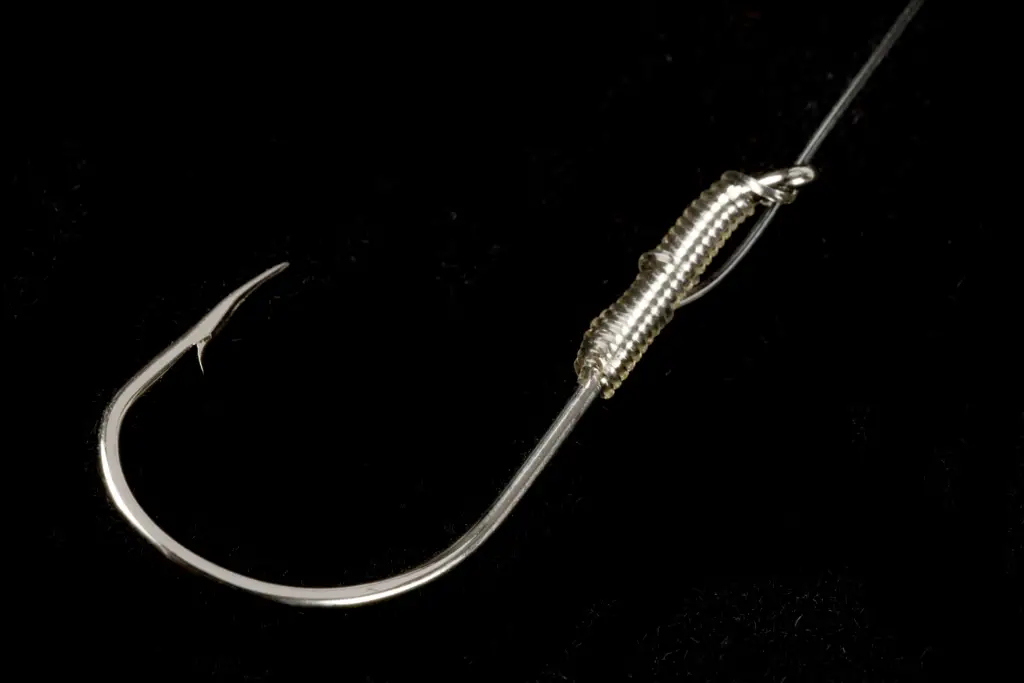
1. Blood Knot
Blood joins two fishing lines together. Line up the two-fishing line in the same direction. Take line ‘A’ and wrap it around the fishing line ‘B’ five times or more, depending on the length. Take loose ends of the line ‘A’ towards the middle and loop at the same coil in the middle. Loop the ends at the same place but in the opposite directions. Pull the ends tight until it feels snug.
2. Nail knot
The nail knot connects a fly line to the leader. To tie it, place a hollow tube against the fly line, leave some allowance tag. The extra is for tying the knot. Wrap it around six or eight times in a left-right direction. The wrappings should cover the line, leader, and hollow tube. Let the end tag pass through the tube and then remove the tube. Pull the end of the tag and tightly snug the coils, tag end, and leader in that manner. Lubricate and pull tightly to make it secure. Trim the tag end closer to the knot.
3. Tucked sheet bend
This knot will secure a fishing line to a leader loop. Hold the end of the line and pass it through the loop and create a sheet bend knot. Take the end of the line again and let it pass through the loop in the sheet bend. Lubricate and tighten until snug.
4. Slim beauty knot
It secures tippets, leaders to the mainline. Use a double overhand knot in one end of the leader. Gently pull it until forms a figure eight and then pause it at that point. Take the mainline and double it and then pass it through the figure-eight knot. Ensure it passes at the bottom and the top. Wrap the leader at least four times. The wraps will create a gap and pass the loop through the first gap created. Tighten the figure-eight knot by pulling it in the leader. Next, pull both the leader with the figure-eight knot simultaneously and the doubled line. Trim off excess loop and tag ends in the double line.
5. Australian braid knot
It creates a loop that can be a double-line leader. Create a small loop at one end and leave the longer part of the line hanging. Take the tag end and the loop to create a braid. Form a bight at the bottom of the tag end. Pull the loop you initially made, letting it pass through the bight. Lubricate with saliva or water and gently pull the bight to tighten. Trim off the tag end.
6. Yucatan knot
Create a double mainline using a Bimini twist. Lay down the leader and doubled the mainline parallelly together. Take the double line. Wrap it around the leader four times if you are using fishing lines. You will need more wraps when you are using a braid. Pass the leader’s end through the loop that is at the end of the double line. Pull the leader and the double line in the opposite direction. It will tighten the knot.
7. Surgeons knot
Lay down the leader and the fishing line over each other. The two should overlap each other with some inch difference. It will create a loop. Pass the leader and the tag end through the loop twice. Lubricate the knot and pull all the ends four times.
8. Egg loop knot
Take the leader and pass it through the hook’s eye all way down to the bend. Use your fingers to secure it in place. Take the other end and wrap it 10-20 times backward towards the bend. Secure the wraps and pass the end of the leader through the hook’s eye. This time do it in a different direction, in four or five wraps. To tighten the knot, pull the leader down. Open the line that’s on top of the hook creating a loop in the process. The loop will hold the egg.
9. Double Turle knot
Take the end of the tag and pass it through the hook’s eye. Create two large loops and secure them with an overhand knot. Pass the loops through the hook and tuck in the ends under the two loops. Moisten and tighten the knots and then trim the ends.
10. Aussie Quickie Knot
Take the main braided line and then tie a Bimini twist onto it. It will create a double-section loop. Place the fluorocarbon leader with the double line and wrap the double line with the leader. Start wrapping from behind the loop’s end, stopping at thirteen wraps. Bring the leader’s tag end back to the loop. Pass it over the loop and then secure it. Hold onto the double line tightly as you pull the leader to form a nice wrap. Let the tag hang loosely from the knot. Trim excess. Ensuring you are doing it closer to the knot
11. Rapala Knot
Create a loop and let the tag end pass through it and the eyelet. You will have a vertical line that the wraps go into thrice. Let it pass through the second loop, and the new loop just created. To tie this knot, pull both ends and then trim off any excess tag end.
Conclusion
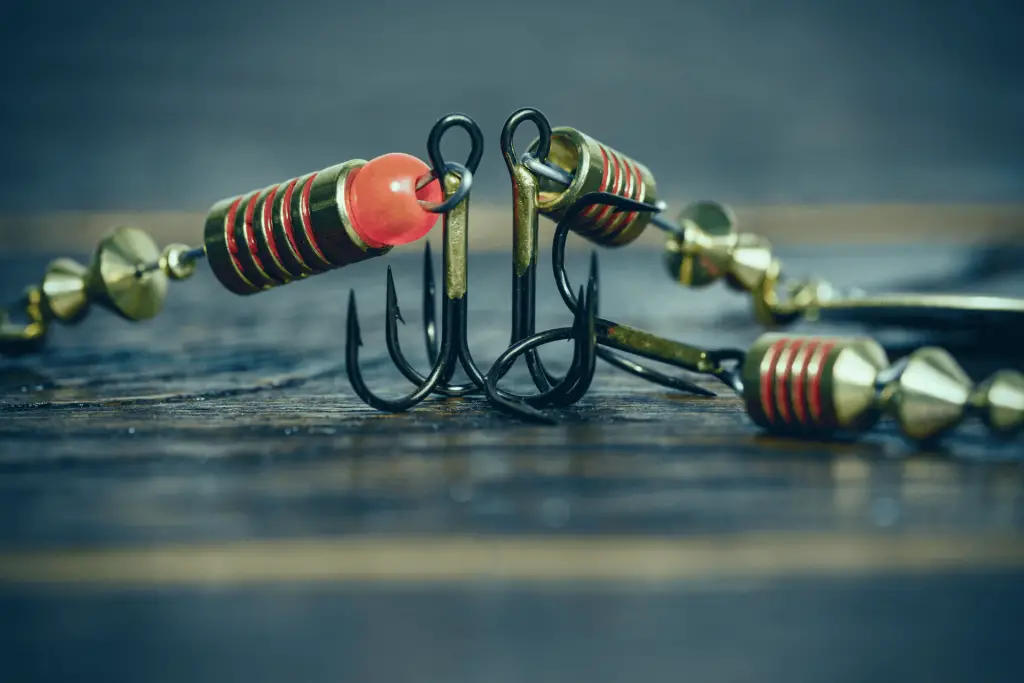
You can’t run out of options when you want to tie a fishing line. These knots keep your fishing hooks, lures, and rods secured. When you follow the right procedure, you can never get worried about loose knots anymore. Whether you have a personal style in tying your lines or maybe you want to try something new, there is always room for using new patterns on a fishing line.


