


")
If you recently bought a new fishing rod or reassembled the one you own and want to reassemble, stringing is a step that is very crucial. Stringing a pole may look challenging when you want to try doing it for the first time or if you are rushing to go fishing. A good angler knows correct stringing is what makes fishing worth it. Here is a step by step guide on how to string a fishing pole.
Prepare Your rod for Stringing
Lay your fishing rod on a leveled surface to make stringing easy. Here are the important things you will need.
Fishing rod
Ensure the fishing pole is in place. The ferrules have been attached at the correct angle of 45 degrees and are aligned. Lay all the pieces together and use a guide to help with fixing the components.
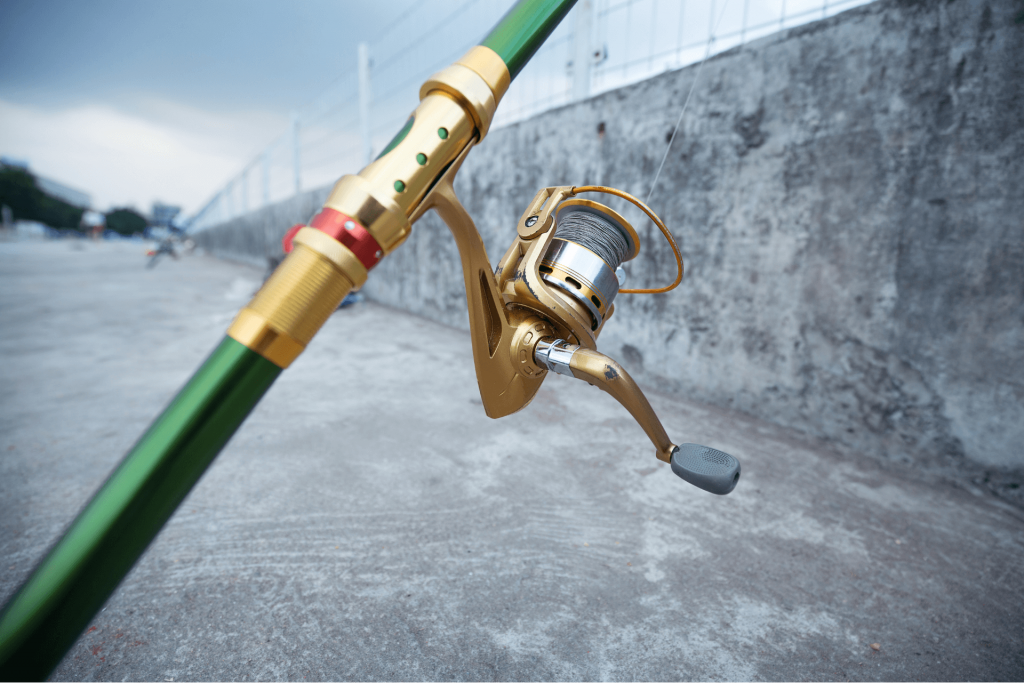
Reel
Reels come in various shapes and sizes. Stringing a fish pole requires you first to string the reel. Poles will have spinning, spin-cast, or baitcasting reels. Spinning reels are way common than any other type of fishing reels.
Fishing line
Pick out the type of fishing line beforehand. Fishing lines are available in three options: monofilaments, fluorocarbon, and braided. Choose a line that is going to fit into the reel spool perfectly without slipping. Select a fishing line depending on your fishing style.
7 Super Ways to String a Fishing Pole
Below are a few instructions for stringing a fish pole. They are super easy to understand.
1. Attach the reel
On your fishing pole, locate the real seat and mount the reel. Place the reel in the right position and tighten it to keep it secure in place. It should align with the guides on your fishing pole. Stringing is easy when you first attach the spinning reel when already connected to the pole. Open the bail before placing the line on the Arbor. Remember to close the bail once you finish loading the fishing line.
The benefits of opening the bail before placing the fishing line to the spool are saving you from additional work. You do not repeat the whole process when the bail refuses to pick up the line.
Tie the fishing line to the reel’s spool with overhand knots and then tighten. The knots should jam up against the spool. With scissors, trim off any excess line. Use the handle of the reel when spooling the fishing line in a clockwise direction. It will tighten the line; rotating in an anticlockwise direction will make the thread lose. Sometimes you will be required to spool anticlockwise depending on the direction the bail arm is rotating too. Spool multiple times until the reel spool gets full and then cut off the excess line.
2. Creating a loop
When stringing the road, creating a loop is important. Fold one part of the fishing line over to create your loop. A loop keeps the fishing line from slipping back through the guides on the pole. Clip the tag end to secure it.
3. String the guides
Various fishing poles will have a different number of guides. Pass the line through all the guides on your fishing pole until you reach the top, starting with the one closer to the reel. String the pole with the bail opened. Work through all the eyelets making sure you do not skip any guide. The moment you reach the last eyelet at the top of the rod, leave extra inches of fishing line hanging down and let go off the line. The line should not slip out of your hand as you thread to make you start the process again.
4. Close the bale arm
When closing the bale arm, do the opposite of what you did when opening. Reverse the direction to close it. An open bail enables the line to come out of the spool easily. When closed little or sometimes no fishing line comes out of it.
5. Attaching the hooks and bait
When placing the hook, there are countless knots to use to secure the line and the hook. Choose one that is simple and not complicated to tie. The easiest tie you can make is making a loop then passing it onto the hook’s eye. Tie an overhand knot and then let the loop pass loosely on at the end of the hook. Lubricate it with saliva or water and tighten it. Trim excess with a pair of scissors. Add bait to the already attached hook, and then you are done with stringing, and you are ready to go fishing.
6. Adjust the drag knob
Rotate it clockwise to tighten it and counterclockwise to loosen it. Test by pulling the line on the reel with your fingers to determine if it’s tight or loose. Please set it to the correct place you want when fishing. It depends on the line at the use and the fish you expect to catch.
A loose drag will affect your fishing and make you not have a catch. On the other hand, a tight one will make the pole bend a lot and risk bringing damage.
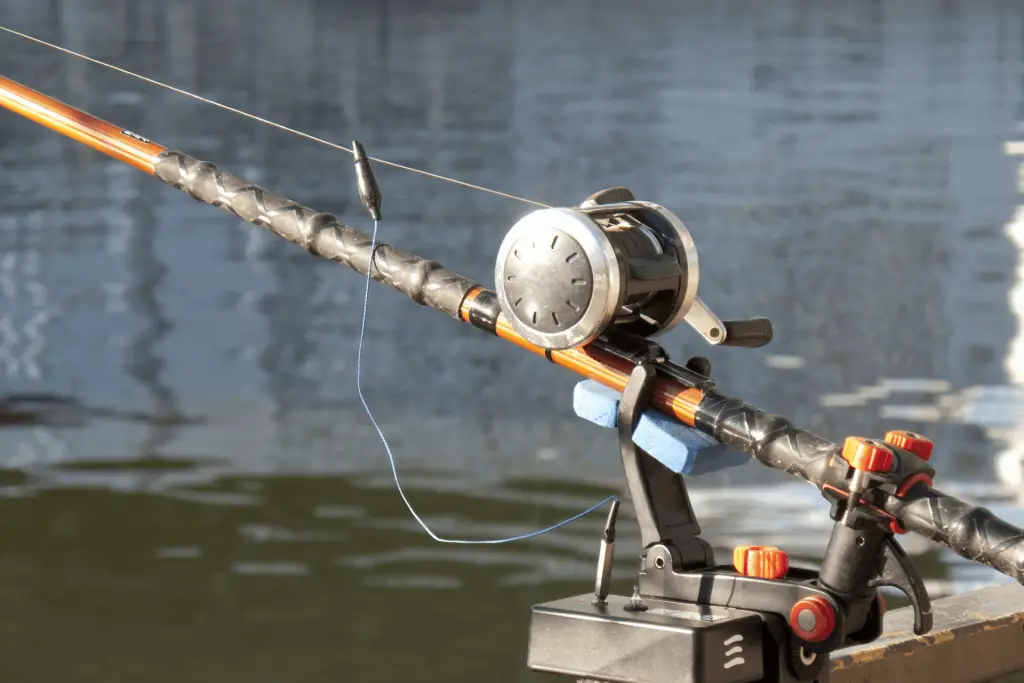
7. Test your rod
Test the pole by casting it in water to see if it works perfectly or needs an adjustment. To test the strength of the line you attached, you can take it fishing. If you are unlucky, you might miss a catch. Do home testing and compromise. Find something equivalent to a fish you would have caught. Pretend you are fishing and lift it with the stringed pole, the same techniques you would have applied if it were a real fish. Check the action of your pole when reeling in fish.
Whether your fishing line needs replacement or upgrading to a different line, we hope you find stringing up your fishing line to be pretty straightforward. When you learn to do it yourself, you will find it easier the next time you need to re-string. Find a line that matches your fishing style. Make sure your reel gets fed with enough line, and your spooling is great. When you perfectly string the pole, you are sure of having a better casting when going fishing.


