


")
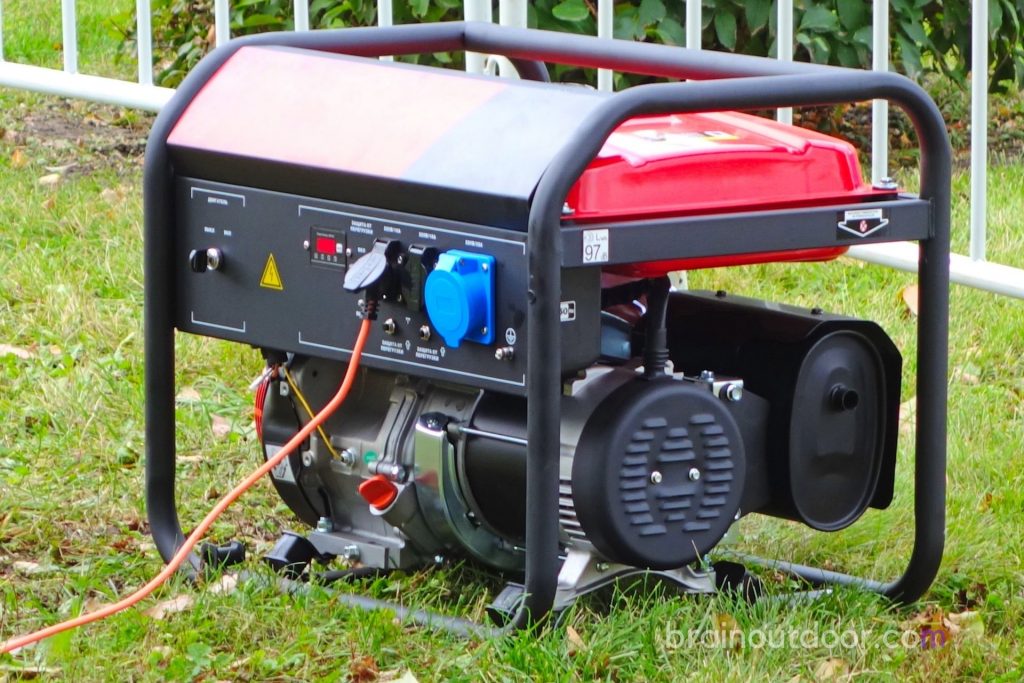
The outdoors can be very interesting but challenging when there is no access to electricity. Going camping requires you to have all the necessary gear. One being lighting. A portable generator comes in handy when you need electricity to power up your devices or act as a form of back-up power. However, a portable generator needs grounding. In other words, you will need to connect it to the ground to make it safe to operate. In this article, you will know how to ground a generator when camping. We’ll show you everything, including the necessary tools required to do it.
Check If The Generator Can Be Grounded
To begin with, it’s important to note that not all generators require grounding to be safe. Most modern generators do not need grounding.
To know if the generator you own requires grounding, check your user manual. It should provide clear instructions on whether your generator needs to be grounded or not.
If you do not have these instructions, you can Google. Make sure you get the information right before attempting to ground the generator.
Usually, generators that belong to the “separately derived systems” category are the ones that require a ground connection. Generators with separately derived systems have no electrical connection from another system to the conductors directly. A generator with “non-separately derived systems” is the exact opposite of that.
Required Tools
Having the right tools will simplify your work and make it easy to ground the generator.
-
-
- Hammer for pounding on the copper rod into the ground.
- A long copper wire for connecting to the copper rod
- Copper rod to bury in the ground
- A pair of piers fasten and twist the copper wire around the copper rod
- Wire strippers to strip off the insulation at the end of both wires
- Wrench for loosening the nut on the generator
-
Directions
1. Bury The Copper Rod
You will need to bury the copper ground 8 feet or more. Use a hammer to sink the rod deep into the ground. Depending on the time you are camping, the terrain can be relatively easy to dip the rod or sometimes tricky. Suppose the soil is too hard; you will have to add a little water to the ground or dig a little to ease the work. Digging up with a shovel makes it easier to dip the rod on hard surfaces.
The water softens the ground and makes it easy to penetrate. Sometimes the campsite can be a bit rocky, makes sure the copper rod gets buried as far as it could go into the ground. You can also dip it 45-degree angle if the soil is hard. A copper rod that gets inserted deeper will keep you safe from getting electrocuted.
2. Disconnect The Copper Wire
To disconnect the wire, you will need a wire stripper and cut both ends of the copper wire. Ensure you do not strip too much. Stripping removes the wire’s insulation at its ends to make it easy to wrap around the generator.
3. Wrap The Copper Wire
Take one end of the stripped wire and wrap it around the copper rod that you buried on the ground. Wrap it around with a pair of pliers to make it tight. One that is tightly fitted will ensure no electric current comes into contact between the rod and the wire.
It improves safety and makes you have a comfortable camping experience without getting worried about electrocution. In any case, you do not have a wire stripper; another alternative would be to use a knife to remove the insulation.
Read Also: How To Inflate Aerobed While Camping – Simple Easy Ways
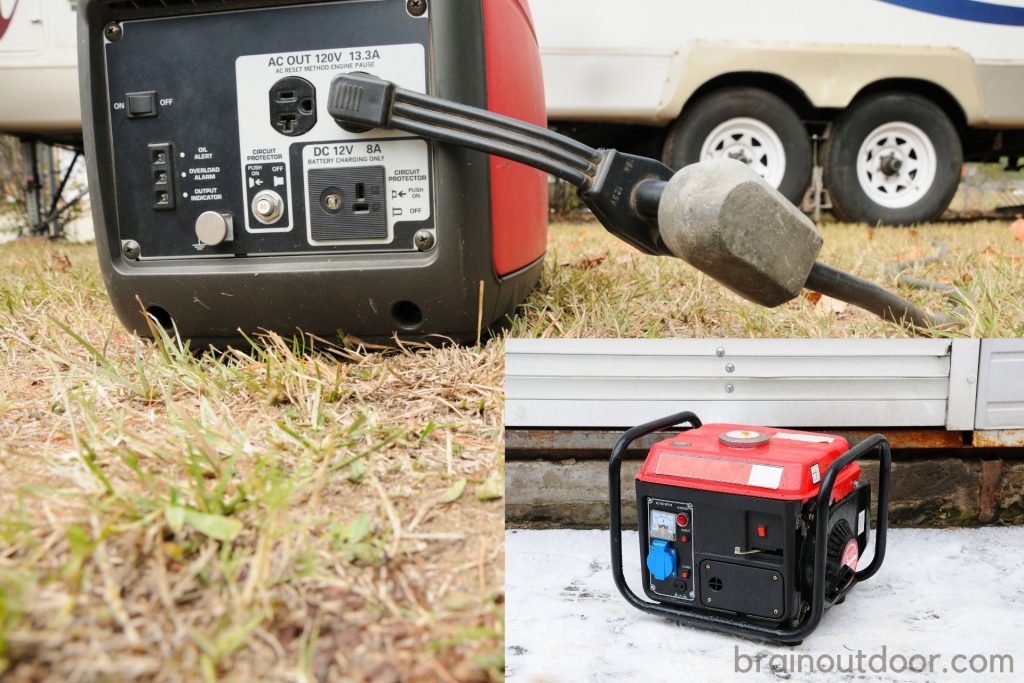
4. Attach To The Generator
On the generator, find the grounding bolts and grip them with a wrench. When securely engaged, loosen it until there’s a visible gap. Wrap around it with copper wire and then tighten the bolt. You can also solder the copper wire if you have to. When there is a tight connection, your generator is safe and ready to use for your camping needs. It is set to provide power for charging, lighting and cooking purposes in the campsite.
5. Safety Precautions
A generator needs to be grounded to avoid getting electrocuted from the current that flows through the metal frame. It can get risky when camping, and someone accidentally touches the metal.
When connecting a generator, it’s essential to keep safe and make sure you do the right things. If the necessary precautions are not taken, it can cause damages and explosion. To avoid hurting yourself and other campers, here are things you need to do while grounding a generator.
-
-
- Wear gloves to prevent any possible injuries to your hands.
- Be careful when hammering the rod into the ground and ensure you are holding it in the middle part. This way, you won’t have any chances of accidentally beating your hand as well.
- If you are not DIY savvy, it’s okay to always ask for help. If you are camping with others, they can give you a helping hand.
- When hammering the copper rod, ensure you do not hit it so hard to damage the rod’s coating. If you do not have a hammer, you can use a sledgehammer or even a mallet if you have one at your campsite.
- Have optional tools standby just in case they will be needed. If your campsite is somewhere rocky, water should be on your list.
- Ensure the rod gets inserted at least eight feet to the ground.
-
Grounding a generator is very easy and essential when camping. Not all generators need grounding, but if you are happening to own one that calls for grounding, the process should be simple. A generator that is not earthed correctly can cause short-circuiting and get you electrocuted. Portable generators are a great option to take camping and have it installed the right way. With the right tools and safety measures taken, the whole process will be safer with the article’s instructions. If you are unsure how to do all this by yourself, you can consult and get professional help.


