


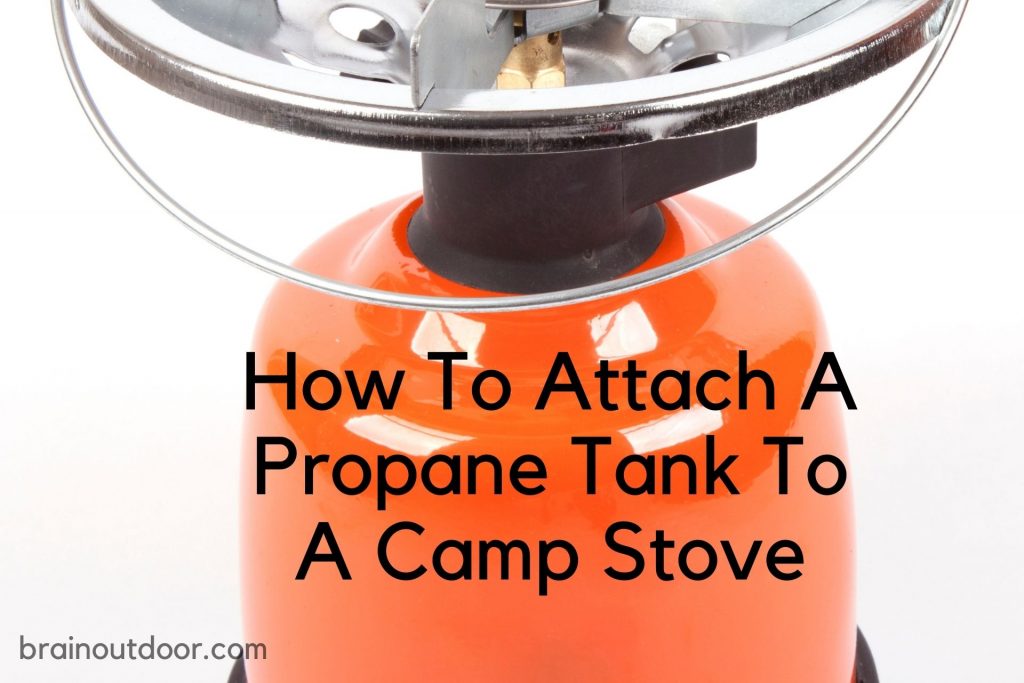
Camp stoves are a great way to have food cooking while camping in the woods. They are convenient when you don’t carry packed foods or want to stay in the wild a little longer. They offer a great and convenient way of hot meals during your tour in the woods. They, however, require fueling to keep them cooking. Preparing a delicious meal in the camp starts with safely attaching a gas tank to your camp stove. The process is quite challenging and that’s the primary reason you are here. On this page, you will learn how to attach a propane tank to a camp stove.
Take Safety Precautions
Propane is highly flammable, and proper care is needed when handling it. It’s convenient for camp stoves since it is cheaper and readily available. When not handled correctly, you can end up causing fire, and fire spreads out quickly in the forest. Choose a flat-surfaced area around your campsite for your set up.
The place should be well ventilated, outside the tent where they aren’t at a risking of exploding. It would be best if you also connected it away from any inflammable things and away from campfires. Fix any leakages before proceeding to light the stove.
Attaching The Propane Tank
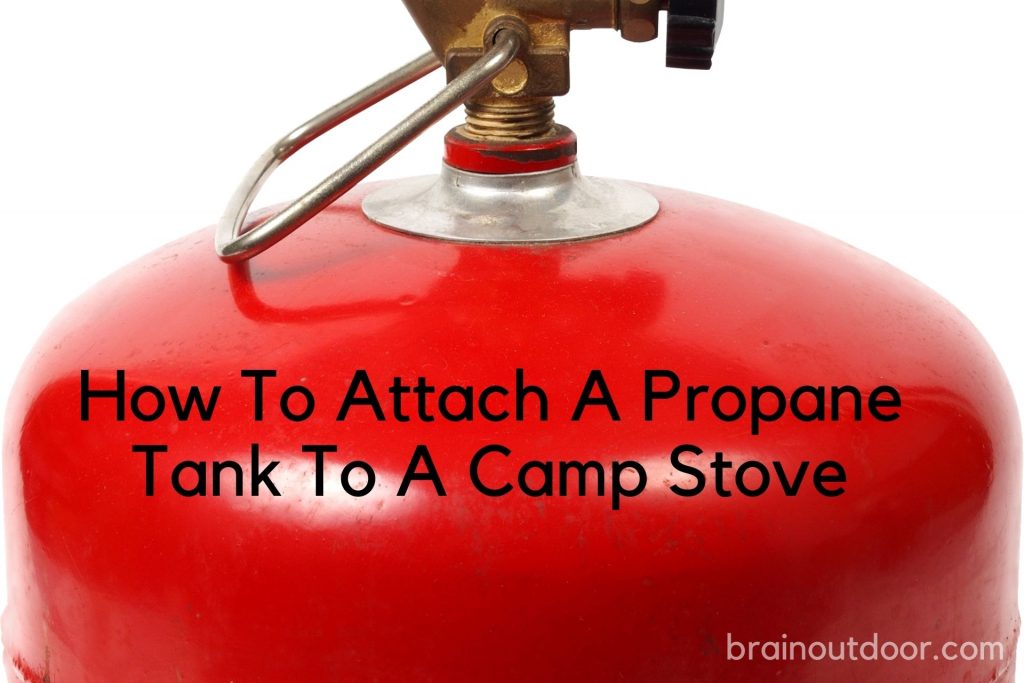
If you have a new camp stove or a new/refilled propane tank, it is essential to attach it properly. Sometimes you may not have an instruction manual, and you do not want to forget a step.
Things You Will Need
1. Camp Stove
You can have a camp stove of your choice from any trusted brands.
2.Propane Tank
Have a liquid propane gas tank
3.Hose That Fits The Size Of The Camp Stove
Have a high-pressured hose that’s long to fit both the camp stove and the propane tank.
4.Propane Adaptor
Get an adaptor or convertor that is the correct size for the propane tank you attach to the camp stove.
5.Set It Up On A Flat Terrain
A flat surface provides stability for both the tank and the stove. If where you are camping has uneven terrain, you will need to do some digging. You can’t have a proper connection when everything is wobbling.
6.Switch Off The Camp Stove
Before starting the connection process, countercheck to see if the camp stove is turned off completely. If not, turn the settings off to avoid accidents while handling gas. Any gas leakage can be ignited and start a fire. The gas valve should be turned off before anything else.
7.Connecting The Hose
The choice of the connecting hose will depend on the pressure, but it is essential to go for a high-pressure hose. It helps go along with the high pressure of the propane tank. You also need to check the hose’s length as it should be long enough to reach on both ends of the camp stove and the propane tank.
You need to connect one end of the hose to the tank while the other end gets attached to the stove. On the propane tank, remove the caps to allow the connection. The hose is what brings the linking of fuel to the stove to start cooking. You will hear a clicking sound when it hasn’t been rightly done. A hissing sound comes on when you gently loosen the valve. Move to the next step when the connection is secure enough.
8.Check Any Leakage
When the hose has been tightly connected, check if there is any leakage that could cause danger before turning on the stove. To test for, you will need a solution of water and soap. Fill it on a spray bottle and spray the point of connections.
Any leakages will make bubbles form when it comes into contact with the soapy water. Rectify if there is a loose connection by repeating the process and retest. The gas tank should still be off when doing the soap test.
Pat the wet places dry with paper towels or a clean cloth.
9.Light Up The Stove
When the connection is all set up, depending on the camp stove you are using, you can pump it a few times. However, not all stoves will need pumping. When you are ready to light the stove, you will need to have a gas flow and open the gas line. The flow will help the stove light faster since the gas fuel will have reached the stove.
When the connection is secure, separate the camp stove arms to make abase for cooking. Some camp stoves have self-ignition features on them. If the one doesn’t self-ignite, you will need to have a lighter or matchstick standby to heat it. The flame will be bluish, and you can get it adjusted to the required heat you want, whether it is a larger flame or not.
Test the camp stove y using it for cooking some food. They easily fit most cookpots, and therefore it doesn’t matter the type of pot you carried on your camping trip. Adjust the flames so that they are not too high or too low.
10.Set Up A Windbreak Sheet
If you are camping in a windy area, you will need to create a windbreak. It prevents the wind from accidentally blowing the camp stove away. They act as a shield against the wind. Creating a windbreak is an easy task that you can by yourself in no minutes and their various options on how to create one.
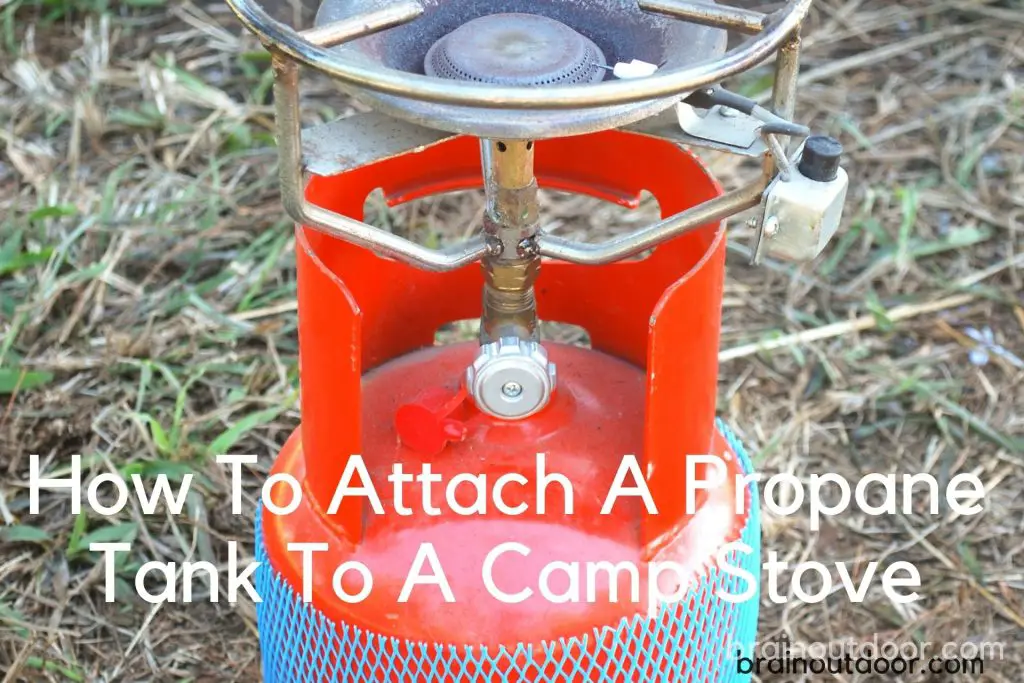
Propane tanks are for use outdoors, and it is crucial to assess the camp stove before connecting a propane tank to it. The place where you are setting it up should also be flat to avoid small accidents like the stove wobbling or falling. Propane is highly combustible that should be handled with proper care. Leakages should be avoided at all costs and should get fixed if you realize any. Having something to cook on and fuel nearby can make camping enjoyable, especially if you know to get everything attached. The next time you go camping, connecting a tank to a camp stove will never be a problem.


