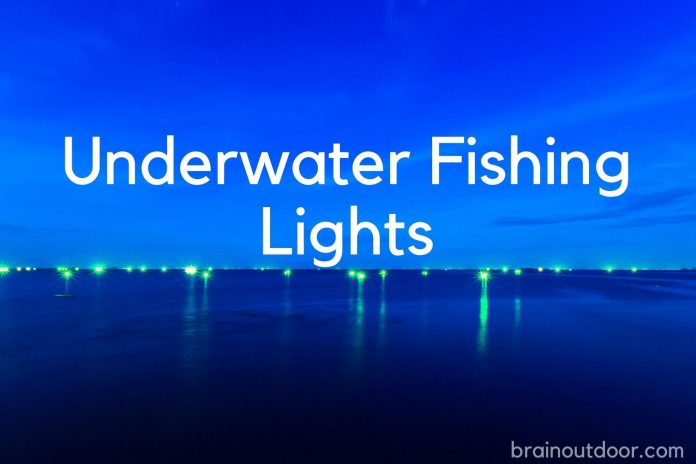
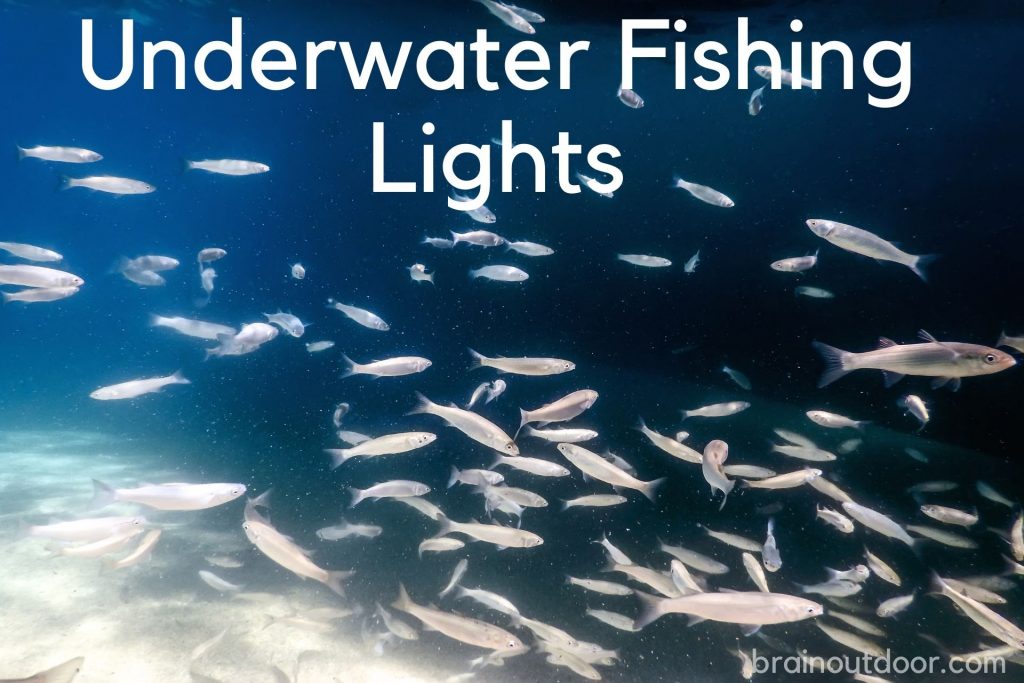
Night fishing is fun compared to fishing in the day time. Any light under the water will always attract the fish to your bait. Whether it is from the moon or artificial underwater lights, the light emitted will attract the fish the most. The light attractors are available for purchase online or in your local store. However, if you wish to make your own, you will need a few tools and materials. The fish will get attracted to any color of light. Therefore, making them won’t be a problem. Below is how to make underwater fishing lights.
Color of the Fishing Light
Fish will get attracted to any color. But there are two primary colors – blue and green – that will attract them the most. So, when creating a fishing light, let it be blue or green. White will also attract them though they are very much sensitive to blue and green colors. The light should also be bright enough to attract the fish. The more colorful it is, the better it is for fishing.
Materials Needed
-
-
-
- T12 fluorescent light bulb connector
- LED green light strips
- 1 1/4″PVC end cap
- 1″ PVC end cap or PVC flat top
- SJOOW rubber cord
- Wire and wire connectors
- ¾ “40 PVC pipe
- ¾” PVC couplings
- Pipe glue
- Old cast net
-
-
Directions
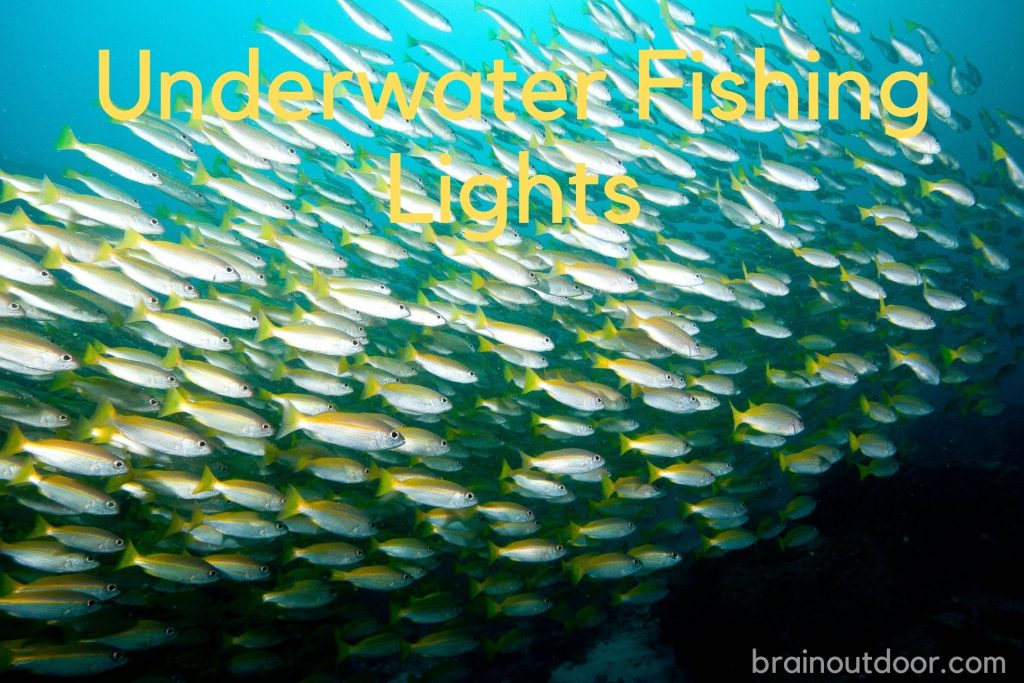
Underwater lights do not have a high voltage, and therefore there is minimal chance of electrocution. To effectively create one for yourself, you will need to follow the following steps. The first thing you will need to do is to gather all your materials together. Have everything ready by placing them together in one place to avoid a last-minute rush.
Take the 1-inch pipe cap, the 6-1-inch pipe, and the ¾ inch coupling and connect them. You will need to attach and glue to keep it secure. As you know, underwater lights need to be sinking the water; you will need to add weight for it to drop correctly. Add the old cast net weight to enable it to submerge better. Place the old cast net inside the 1-inch PVC if you want the light to sink when creating the fishing light.
When you are done with gluing in the first step, take the ¾-inch PVC pipe and glue it to the ¾-1″ coupling. Star wrap the Led light along the ¾” PVC pipe to your desired length. When you reach the end covering it, secure the back with a small amount of glue. You do not want to repeat the same process when the end is loosely fit. It means you will have to warp it again. It is, therefore, essential to make sure the end is tightly secured.
Drill Holes
First thing first, cut the ¾ “PVC. You then need to drill some holes on it; this is where the wires will go through. You will have to take the other ¾-inch PVC coupling and place it on one end of the other one; ¾ “pipe. There is no gluing required on this step; you will have to leave without putting any glue to secure them. You can cut the fluorescent light protector with your desirable measuring. Please measure the length you want and then cut it. Take the T12 light protector and glue it on one end of the PVC coupling and allow it to dry within a few minutes. You can also glue the other end even though it is not going to be easy.
You will also need some holes on the one ¼ -inch PVC end cap. Create holes by drilling into it to create small holes for the wires. To avoid the wire getting pulled back, you will be required to tie a not on it. Connect the wire to the LED strip silicon. Ensure you glue the ¼ “PVC cap onto the coupling.
Powering It Up
The fishing lights work with batteries; you will therefore need to connect them to a power source. You will need to have a battery that is strong enough to keep the light shining for a couple of hours. You will ruin your fishing experience if you run out of battery while still catching fish. That’s why you need to have a battery with higher Amp-hours to keep your device running. Also, ensure the battery matches the wattage of the LED lights. It should be slightly higher if not equal. A 12 voltage battery is enough to power up your lighting device and keeps it on for some time.
Set the Fishing Light
The light won’t work without a power source. You will need to connect it to a power source to light it up and submerge it into the water. Please do not wait until night time to set up everything. Do this before night falls, and get dark. Choose a place where there is a concentration of fish to set up the light. The water shouldn’t be too deep or too shallow. Water with the right depth is okay to use for underwater light fishing. Drop the fishing light down the water.
Fish will get attracted to the light and will therefore come to the bait. Have your fishing gear ready if you want to catch fish. A bonus tip! If you’re going to get more fish, do not just stick to one light only. Create two and have them underwater. It will increase your chances of having a catch. The light needs to be still without shaking. A light that keeps moving will scare away the fish.
Creating your fishing lights is not a challenging task to do. With the right materials, you can have your light instead of purchasing them from the store. After you create it with the method above, connect it to the power source and then drop it inside the water. Fishing lights work both on freshwater and salty waters. If you intend to use it on freshwaters, white and green lights are a better option. Blue lights work best with salty waters like in the seas. Lastly, the light should be bright and have about 1500 lumens and above.


